DIY Furniture Makeovers: Cost-Effective Ways to Revamp Your Space
Ever looked at that old dresser in the corner of your room and wondered if it could be more than just an eyesore? You’re not alone. Transforming tired and worn-out furniture into stylish, functional pieces is not only possible but can be done on a budget. With a few basic tools and a bit of creativity, those dated and chipped pieces can become the highlights of your home decor.
Each makeover starts with the essential step of visualizing what you want the piece to become. Whether it’s a fresh coat of paint, new hardware, or a complete structural overhaul, the possibilities are endless. Embarking on a DIY furniture project allows you to express your personal style while saving significant money compared to buying new.
Not only does a DIY furniture makeover project save money, but it also reduces waste by breathing new life into items that might otherwise end up in a landfill. It’s a sustainable choice that marries creativity with practicality. Dive into the world of DIY furniture makeovers and discover how you can elevate your home decor without breaking the bank.
Planning Your DIY Furniture Makeover
Proper planning is key to a successful DIY furniture makeover. This involves assessing the condition of the piece and gathering the necessary tools and materials to transform it effectively.
Evaluating Furniture Condition
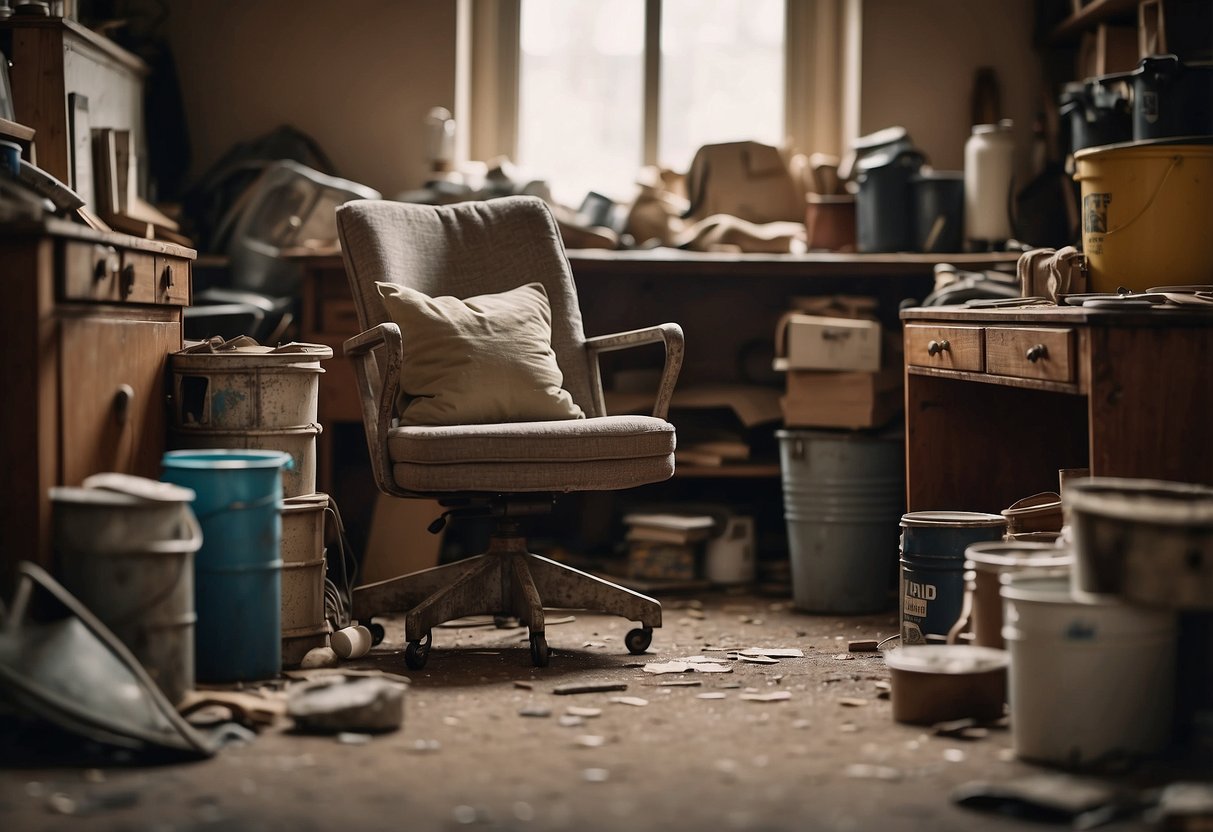
Start by closely examining the piece of furniture to determine its condition. Look for any structural damage or weak points, such as loose joints, cracks, or missing parts. These issues need to be addressed before any cosmetic changes are made.
Check for surface damage like scratches, stains, or old paint. Knowing the material of the furniture is crucial as different materials like wood, metal, or plastic require specific treatments and finishes. Assessing these aspects will give a clear understanding of what repairs and preparations are necessary.
Selecting the Right Tools and Materials
Choosing the right tools and materials is essential for a successful furniture makeover. Paints and primers should be compatible with the furniture’s material. For example, wood furniture often requires sanding and a wood primer before painting, while metal furniture may need a rust-resistant primer.
Gather tools like sandpaper, paintbrushes, rollers, and screwdrivers. Replace old hardware with new knobs, handles, or hinges to give the piece a fresh look. If reupholstering, select fabric that complements the new style but also suits the furniture’s use and environment.
Proper preparation ensures that every step of the makeover process goes smoothly and results in a beautifully transformed piece.
Preparing Your Furniture for Makeover
Before transforming old furniture, it’s crucial to start with proper preparation. This ensures that your updates not only look good but also last longer. Cleaning and sanding techniques, along with priming, play a vital role in the makeover process.
Cleaning and Sanding Techniques
Clean the furniture with a mild detergent and water to remove dust, grime, and oils. Old finishes or paint can interfere with the new paint’s adhesion.
After cleaning, the sanding process is essential. Use medium-grit sandpaper to remove the old finish. This action creates a smooth surface for the new paint application.
Sanding also helps eliminate small imperfections that might affect the final look. Dust off the furniture thoroughly after sanding to ensure no particles interfere with the painting process.
Priming for a Lasting Finish
Applying primer ensures that the new paint adheres well and lasts longer. Choose a high-quality primer suitable for the type of paint you will use, such as spray paint or chalk paint.
Priming not only provides a uniform base but also helps cover any stains or dark colors from the old finish. Use a brush or roller to apply the primer evenly, making sure there are no drips or uneven spots.
Allow the primer to dry fully before moving on to painting. This drying time varies depending on the product, so check the manufacturer’s instructions. A well-primed piece will significantly enhance the durability and appearance of your furniture makeover.