DIY Roof Repair: Simple Steps to Prevent Major Leaks and Damage
Fixing Minor Leaks and Damage
Addressing minor leaks and damage in a timely manner can prevent more serious roofing problems and extend the life of the roof. Simple repairs like replacing damaged shingles and sealing small penetrations are essential for effective DIY roof maintenance.
Replacing Damaged Shingles
Damaged shingles may cause significant issues if not replaced promptly. First, assess whether the shingle is cracked, curled, or missing entirely. Using a pry bar carefully, lift the surrounding shingles to remove the nails holding the damaged shingle. Slide the damaged shingle out and discard it. Position the new shingle, aligning it with the existing ones, and secure it with roofing nails, ensuring proper placement for water runoff. This straightforward task restores the integrity of the roof surface, preventing moisture from infiltrating the roofing system. Regular inspection and timely replacement of shingles are crucial to maintaining the protective layer of the roof.
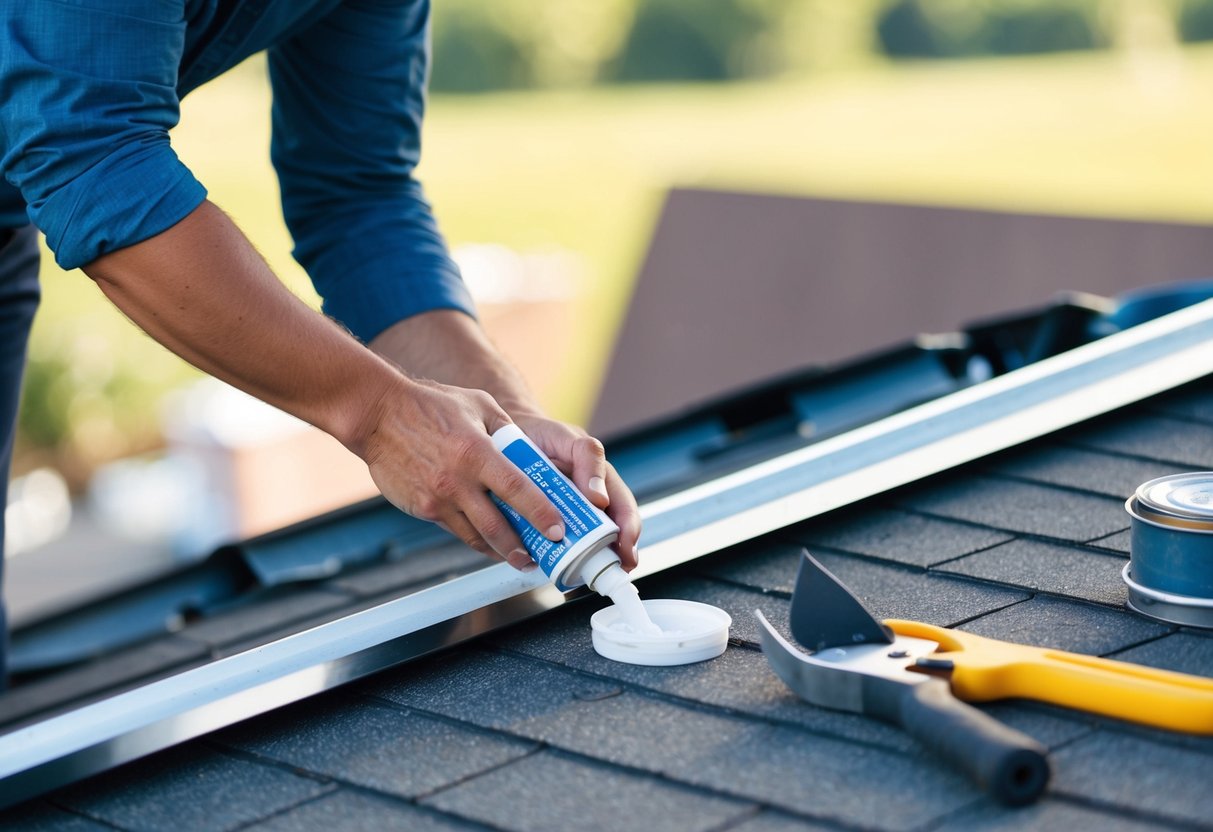
Sealing Minor Penetrations
Minor penetrations such as small holes or gaps around chimneys, vents, or skylights can lead to leaks. Identify the penetration by looking for any cracks or holes in the flashing or sealant. Clean the area thoroughly to remove debris and old sealant. Applying a high-quality roofing sealant or caulk around the penetration will ensure a waterproof seal. Smoothing the applied sealant with a putty knife enhances adhesion and coverage. It’s important that this step is done meticulously, as poor sealing can lead to further leaks. Periodic checks around penetrations will highlight areas needing attention, ensuring small issues are resolved before they escalate.
Addressing Flashing and Sealant Issues
Ensuring that flashing and sealants are intact helps prevent roof leaks and damage. Focus on repairing around roof penetrations and installing step flashing effectively to maintain the durability of the roof.
Repairing Around Roof Features
Roof features like chimneys, vents, and skylights are common sources of leaks if not adequately sealed. Flashing around these elements should be examined for cracks, rust, or loose sections. When damage is evident, remove the old flashing. Apply a high-quality roof sealant to create a watertight bond. This ensures water doesn’t infiltrate under the shingles. Additionally, inspect and clean the surrounding area to remove debris that might impair the sealant’s function.
A snug fit of the flashing around the structure is crucial for preventing seepage. Correct installation is essential, using nails or screws to secure the flashing firmly. Seams should be covered with a waterproof sealant for optimal protection. Everyday maintenance includes routinely checking for wear and resealing when necessary to prolong the roof’s lifespan.