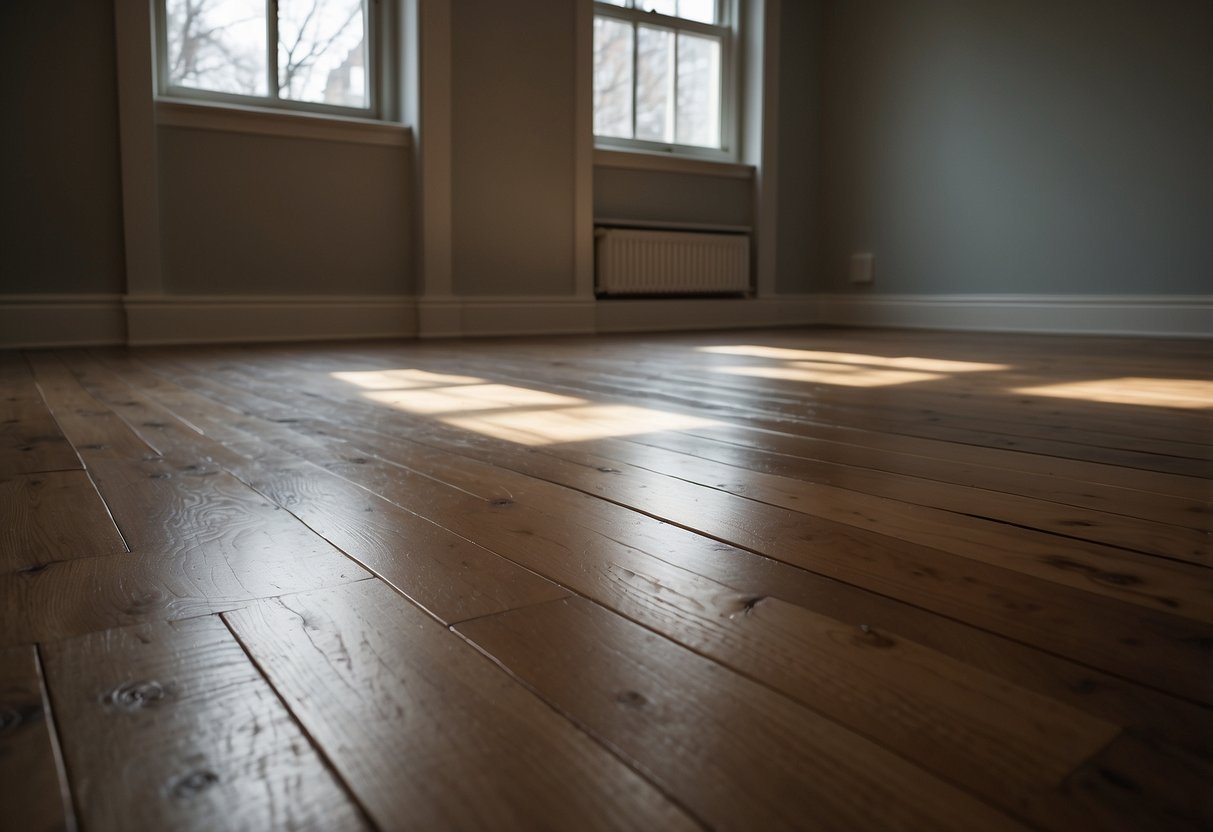
How to Refinish Hardwood Floors Yourself: Expert Tips for a Flawless Finish
Prepping the Area
Next, protect the rest of the space from dust and debris created during sanding. Use plastic sheeting to cover doorways, vents, and any built-in furniture that cannot be moved. Secure the plastic sheeting with painter’s tape to create a tight seal.
Check the condition of the floor for any nails, staples, or screws that might be sticking out. These should be hammered down or removed to prevent damage to the sanding equipment.
Ensure the area is well-ventilated to minimize dust accumulation and for safety. Open windows and use fans if necessary to keep the air circulating. This step helps maintain a cleaner workspace and makes the overall task less demanding.
Tools and Materials
Refinishing hardwood floors requires specific tools and materials to achieve a professional finish. This section outlines the essential equipment and safety gear needed for the project.
Essential Equipment
The main tools required include a drum sander, orbital sander, edge sander, and a belt sander. A drum sander is powerful and ideal for the bulk of the sanding work. An orbital sander is useful for smoothing out the surface, while an edge sander handles hard-to-reach areas. Depending on the condition of the floor, various grits of sandpaper will be necessary.
Additionally, a hammer and pry bar are indispensable for removing nails or staples. Wood putty can be used to fill any gaps or holes beforehand. A vacuum cleaner is vital for removing dust after sanding. Having these tools on hand ensures the floor is prepped correctly and ready for refinishing.
Safety Gear
Safety gear is crucial for any DIY project, and refinishing hardwood floors is no exception. Dust masks or a respirator are needed to protect against inhaling fine dust particles. A respirator provides a higher level of protection, especially when working with wood putty or finishing products. Safety goggles are necessary to shield the eyes from debris.
Ear protection should be used to guard against the loud noise generated by sanding machines. Ensuring the proper fit of each piece of safety equipment enhances both comfort and protection during the refinishing process.
Initial Floor Preparation

Before starting the refinishing process, ensure the floorboards are free of imperfections, loose boards, nails, and staples. Proper preparation helps achieve a smooth and durable finish.
Floorboard Repairs
Address any loose floorboards and squeaks. Walk across the floor to identify areas that move or produce noise. Secure loose boards with screws or nails, making sure they lie flush with the surface. Wood filler can be used to repair gaps or small holes in the floorboards. Apply it with a putty knife and smooth it out, ensuring it fills the imperfections evenly.
Inspect the subfloor beneath the hardwood for stability as well. If any sections seem unsound, reinforce them from below. Prioritize consistent and solid surface support to prevent future issues after refinishing.
Nail and Staple Removal
Any protruding or visible nails and staples need removing to prevent damage during sanding. Use a nail set to drive in any nails that can’t be removed. Pliers or a staple remover should help with extracting staples. Be methodical, ensuring no sharp objects remain.
This step is critical in maintaining the integrity of the sandpaper and machinery used in the refinishing process. Neglecting it can result in equipment damage and an uneven floor surface. Smooth out any disruption in the wood left by the removed nails and staples with fine sandpaper or wood filler.


