How to Refinish Hardwood Floors Yourself: Expert Tips for a Flawless Finish
Sanding the Hardwood Floor
Achieving a smooth, clean surface is crucial for refinishing hardwood floors. Selecting the right grit and executing the sanding process properly ensure a professional finish.
Selecting the Correct Grit
Choosing the correct grit sandpaper is essential for effective sanding. The grit number determines the sandpaper’s coarseness. Starting with a coarse grit, such as 36 or 40, helps remove old finishes and smooth out any imperfections.
Medium grit, typically between 60 and 80, is used next to address any remaining rough spots and further smooth the floor. The final sanding utilizes a fine grit, such as 100 or 120, to prepare the surface for staining and finishing. Each step should be done methodically to ensure the best outcome.
Executing the Sanding Process
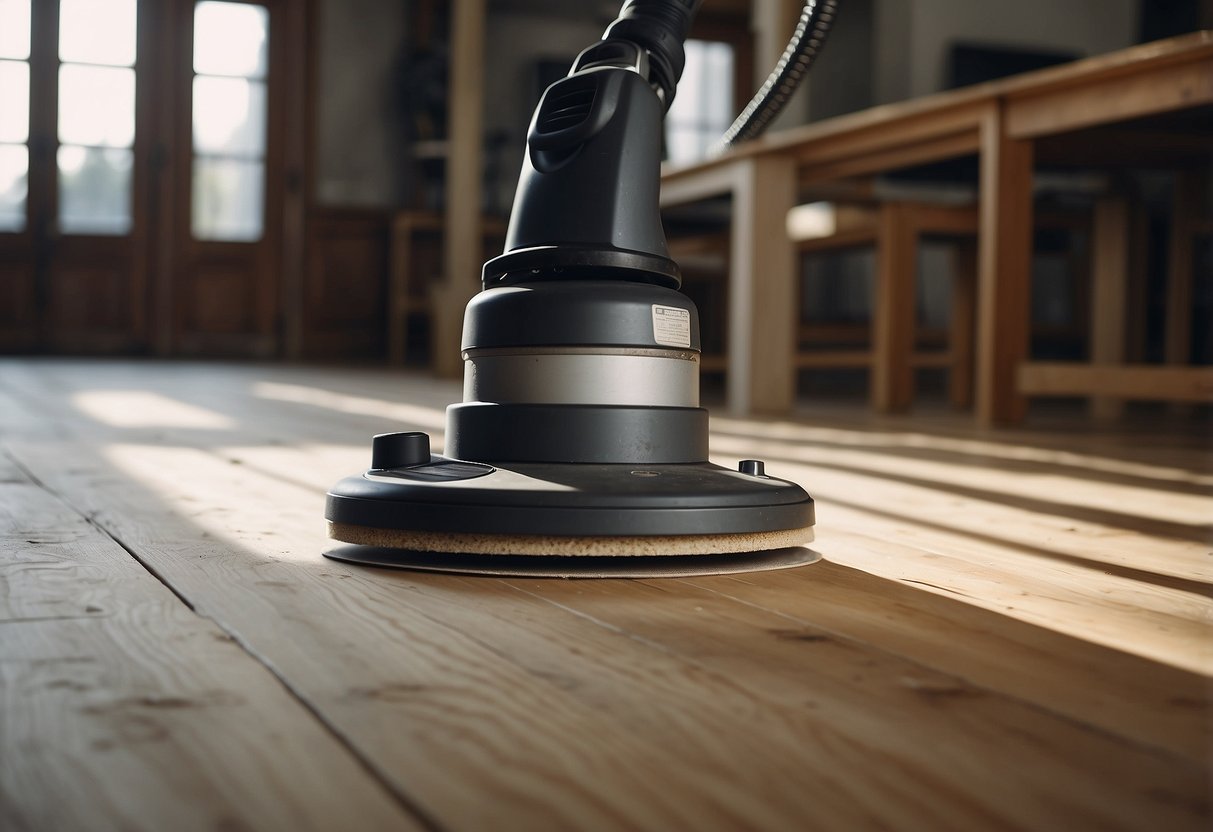
The sanding process involves the use of different types of sanders. Large areas can be tackled with drum sanders or floor sanders, while an edge sander is ideal for corners and edges. An orbital sander or belt sander provides versatility for various sections of the floor.
Before starting, ensure the area is clear of dust and debris. Sand in the direction of the wood grain to avoid scratches. Use a vacuum between sanding stages to remove any dust.
A buffer equipped with a sanding screen can refine the surface further. Proper technique and equipment save time and ensure a polished result.
Wood Floor Cleaning and Preparation
Before beginning any refinishing work, it’s essential to ensure that the wood floors are thoroughly cleaned and prepared. This process involves detailed dust removal and the use of a tack cloth and vacuuming to remove all remaining particles, ensuring a smooth and clean surface.
Final Dust Removal
Dust and debris can compromise the final finish of the wood floors, making it crucial to remove all particles meticulously. Use a fine-bristled broom to sweep the area, followed by a dust mop for thorough cleaning. An air purifier can help capture airborne dust, especially in large spaces.
Those with allergies or respiratory issues should consider wearing a mask during this step. It is also important to check corners and edges, where dust tends to accumulate. Efficient dust removal sets the stage for the next critical step in the cleaning process.
Tack Cloth and Vacuuming
A tack cloth is essential for picking up fine dust particles that a broom or mop may miss. It’s sticky and designed to trap tiny debris, ensuring none remain on the wood floor. Wipe down the entire floor with the tack cloth, moving in one direction to avoid redepositing dust.
Follow up with a vacuum equipped with a soft brush attachment to capture any remaining dust. Concentrate on the floor’s edges and corners, as these areas are prone to gathering debris. This dual approach ensures a pristine surface, ready for refinishing.