Top 10 DIY Home Improvement Projects That Save You Money This Year
Flooring Improvements and Installations

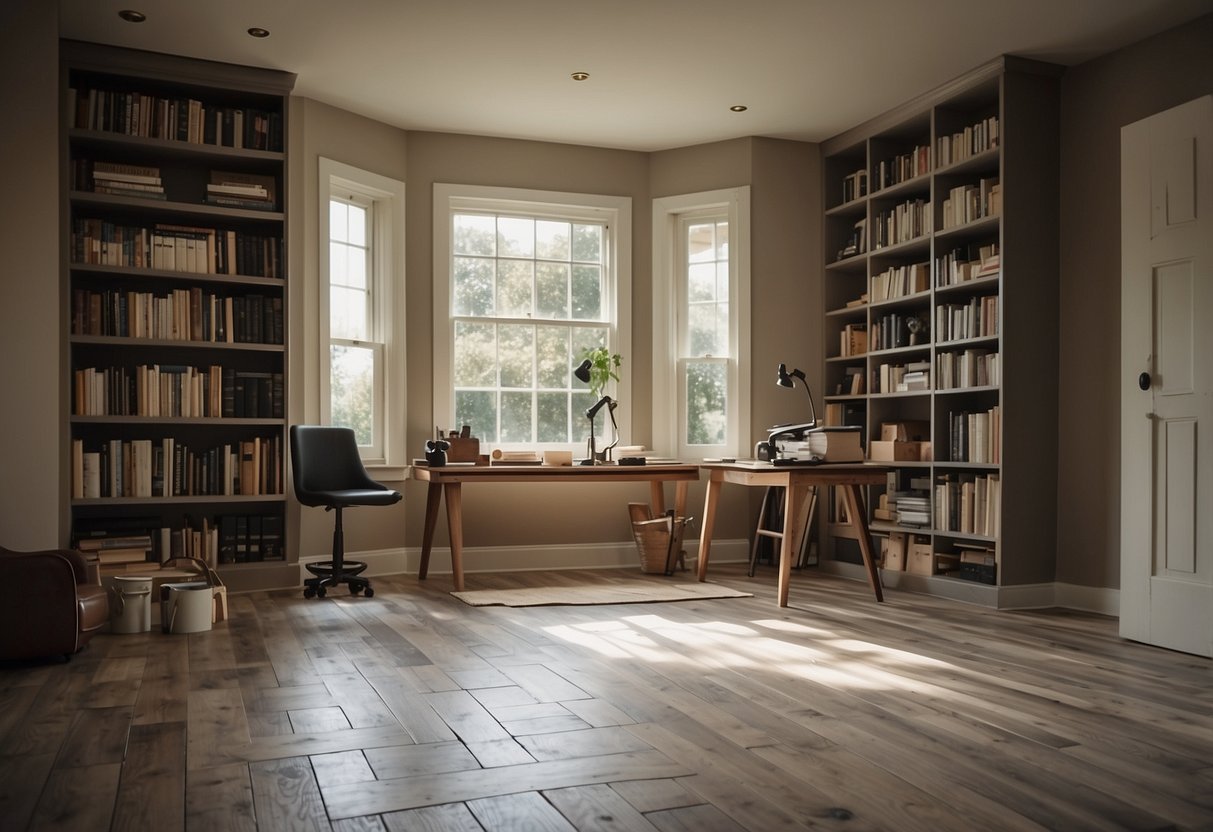
Upgrading your flooring can refresh the look of your home and add value without a large investment. By choosing the right materials and techniques, anyone can achieve professional results.
Laminate and Vinyl Flooring Options
Laminate and vinyl flooring offer cost-effective, durable solutions for any room. These materials are resistant to scratches and stains, making them suitable for high-traffic areas. Installation is straightforward with the click-lock systems available for laminate or self-adhesive options for vinyl sheets and tiles.
Both laminate and vinyl provide a wide range of designs, including wood and stone finishes. This versatility allows homeowners to match new flooring with existing decor seamlessly. With basic tools like a utility knife, measuring tape, and leveling compound, installing these types of flooring becomes a manageable DIY project.
Proper preparation is crucial. Ensure that the subfloor is clean, dry, and level before laying down any materials. An underlayment might be necessary to reduce noise and improve stability, especially for laminate flooring. Following manufacturer guidelines will guarantee a smooth installation process.
Tiling Techniques and Tips
Tiling is a versatile option for kitchens and bathrooms, providing a waterproof and easy-to-clean surface. The key to a successful tiling project lies in precise measurement and cutting. A tile cutter or wet saw is essential for achieving clean edges and fitting tiles into tricky spots.
Select a tile style that complements the room’s design and consider the tile’s durability based on its wear rating. Use a quality adhesive and ensure that each tile is properly aligned by using spacers. This helps maintain even grout lines and a professional appearance.
Grouting is the final step. Apply grout with a float, making sure to fill all gaps completely. Wipe away excess grout with a damp sponge before it dries. Sealing the grout once it has cured will protect against stains and moisture.
Attention to detail and patience during the installation will result in a stunning tiled floor that stands the test of time.
Bathroom Renovation Ideas for DIYers
Simple enhancements like changing fixtures and creating a new vanity can revitalise a bathroom. These DIY options are practical ways to refresh the space without substantial expenses.
Updating Fixtures and Hardware
Changing outdated fixtures and hardware can significantly improve both the look and functionality of a bathroom. Selecting modern faucets, showerheads, and cabinet handles can make a noticeable difference. DIYers can easily replace these items with new ones found at home improvement stores.
Attention to detail in the choice of materials matters. Opt for finishes like brushed nickel or matte black for a contemporary style. Installing water-saving fixtures is also a cost-efficient choice that benefits the environment. Additionally, switching out an old, inefficient toilet with a modern one can enhance both aesthetics and utility.
DIY Vanity and Countertop Projects
Creating a custom vanity and countertop can add a touch of personalization to a bathroom. Many DIY options cater to various budgets. Repurposing a dresser into a vanity is a popular and stylish choice. This involves cutting space for a sink and refinishing the surface to withstand moisture.
For countertops, consider using materials like epoxy resin over existing counters for a sleek finish. Wooden countertops reclaimed and sealed properly offer a rustic feel. Concrete countertops are durable and can be custom-coloured. Investing time in these projects can yield a highly personalized, functional, and stylish bathroom area.


